Category: Projects
Sawmill assembly and test
Sawmill trailer assembly
Bed legs
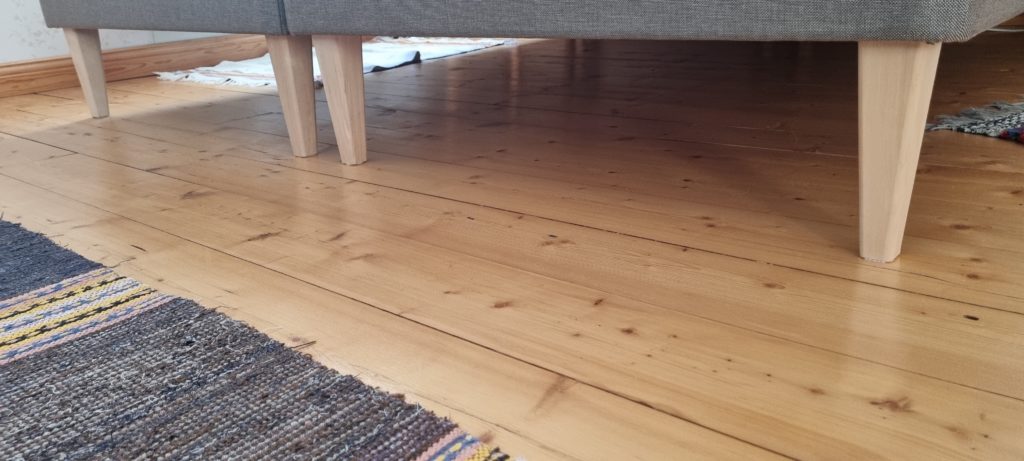
We got new beds and instead of spending 1600 kr to buy 8 blocks of wood with a screw in them I decided to build my own bed legs.
For material I choose to use some 75 mm birch slab that I sawed out of a blowdown tree a few years ago. I had to work around knots and damages but ripped and milled it down to 60×60 mm stock.
After crosscutting the blanks to 200 mm length I marked the center in one end of each piece. At the mark I drilled a 6 mm hole for a m8 stud screw.
Then I cut the taper of each leg at the table saw using a jig that I made the last time I built bed legs but any tapering jig can be used. The first two sides of the leg is easy but the next two sides has to be compensated with a wedge.
To remove cut marks from the saw I used a hand plane before rounding off the corners with my router.
The last thing before installing them was to add the stud screws. The hand planing gave a really nice finish so I skipped the sanding.
My new Workshop
I have started building a workshop for my wooden projects in a small room that used to be a storage room and before that it was a horse stable.
The room is 17 square meters and I want to cram as much of my wood working tools as possible in here.
Heating will be provided by a wood boiler in an adjacent room.
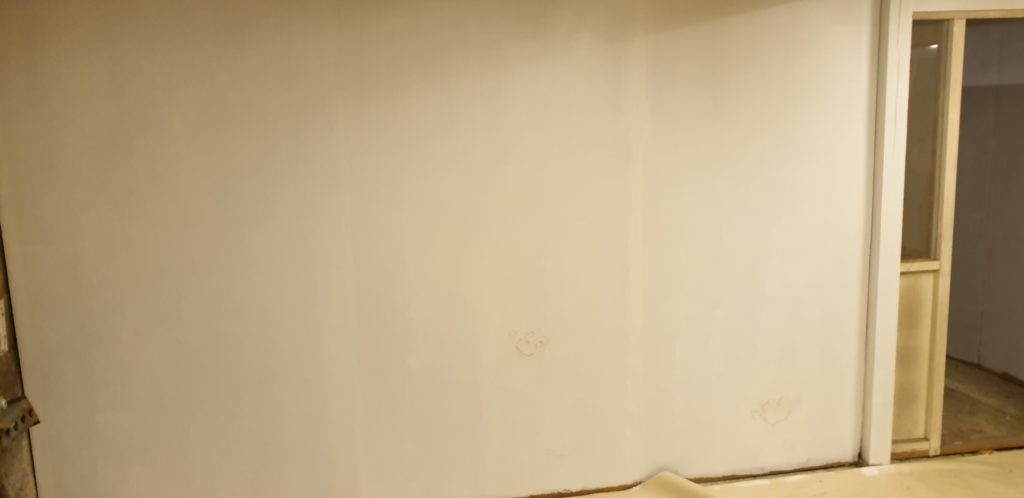
So far have I only cleaned out stuff that does not fit here anymore and painted two walls.
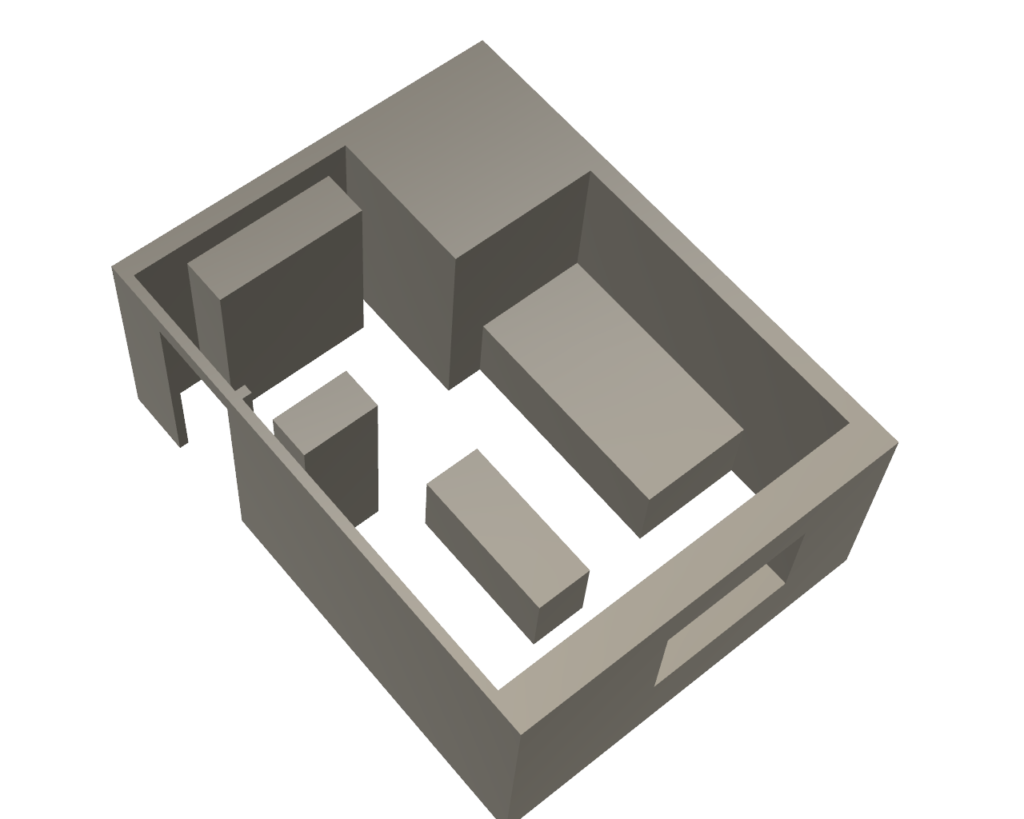
To get a feel for what to I can squeeze into the room have I created a 3D-model of the room.
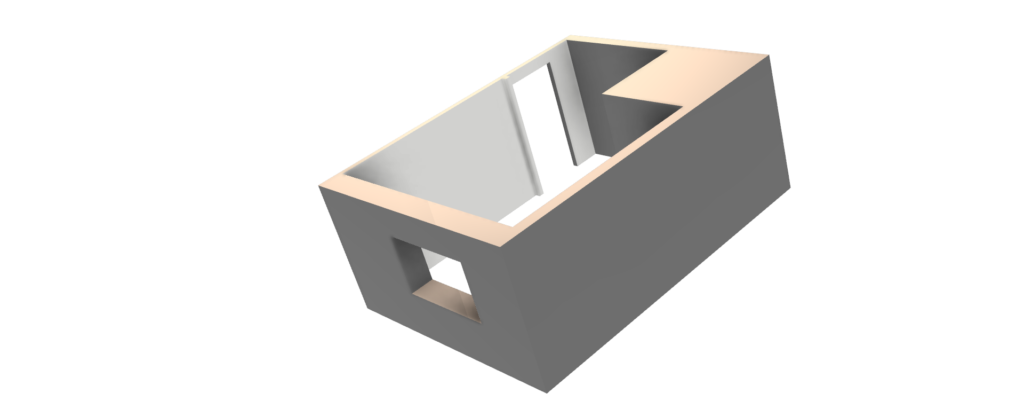
Now I can visualize how the workbench and other things will fit inside the room.
Trousers
Shirt
Glowing Christmas card
A short video on how to make a glowing Christmas card.
MFT table
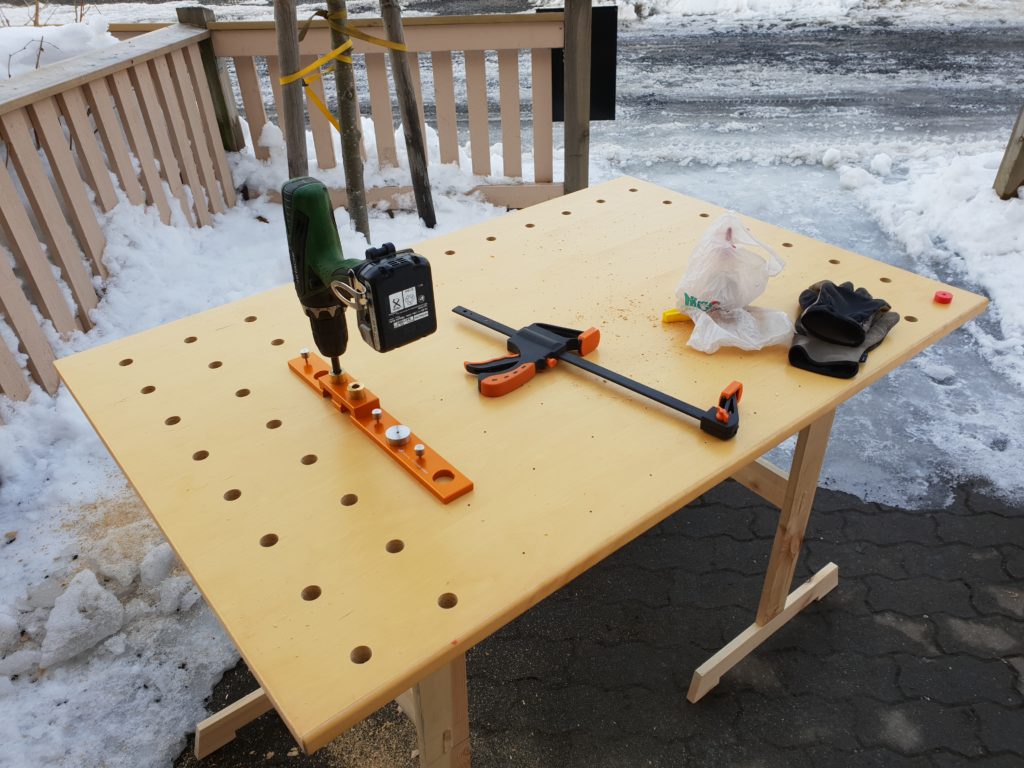
It actually started a while ago when I saw David Stantons series about his Stanton bench. I thought is was pretty cool and it seemed like a very good design. Fortunately I found out a friend of mine owns a UJK parfguide system and did let me borrow it. Thank you Pedher!
I started drilling my MFT table last week and today I finished the drilling process. The board is an old desktop that I got for free. It is made out of veneered particleboard.
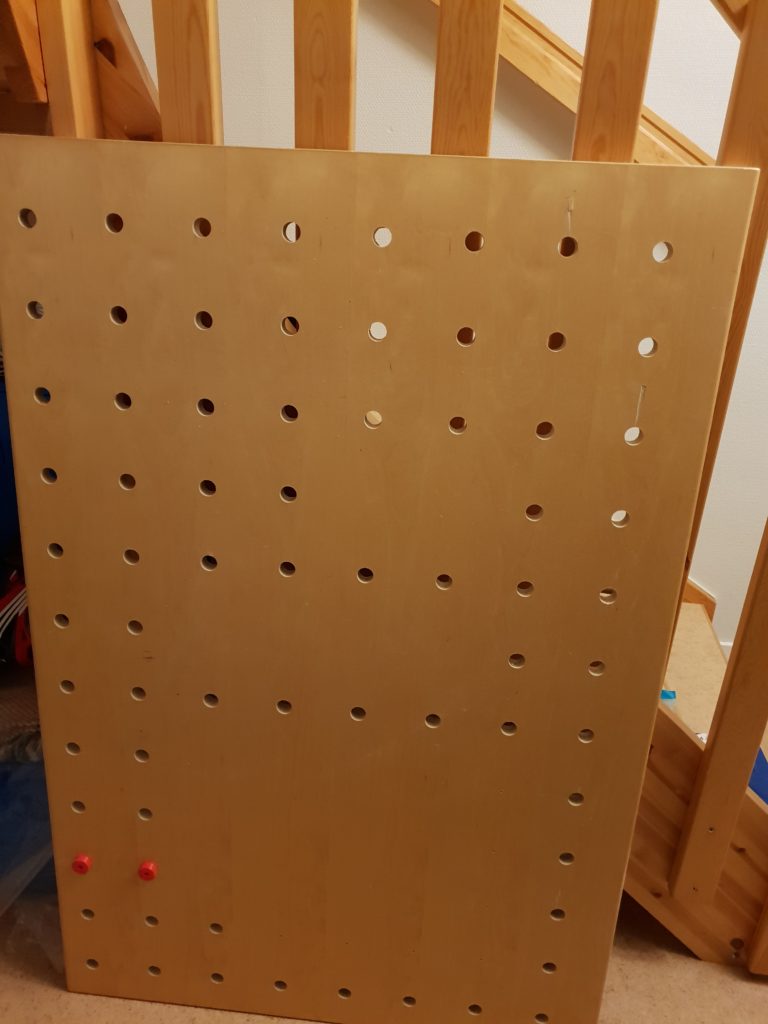
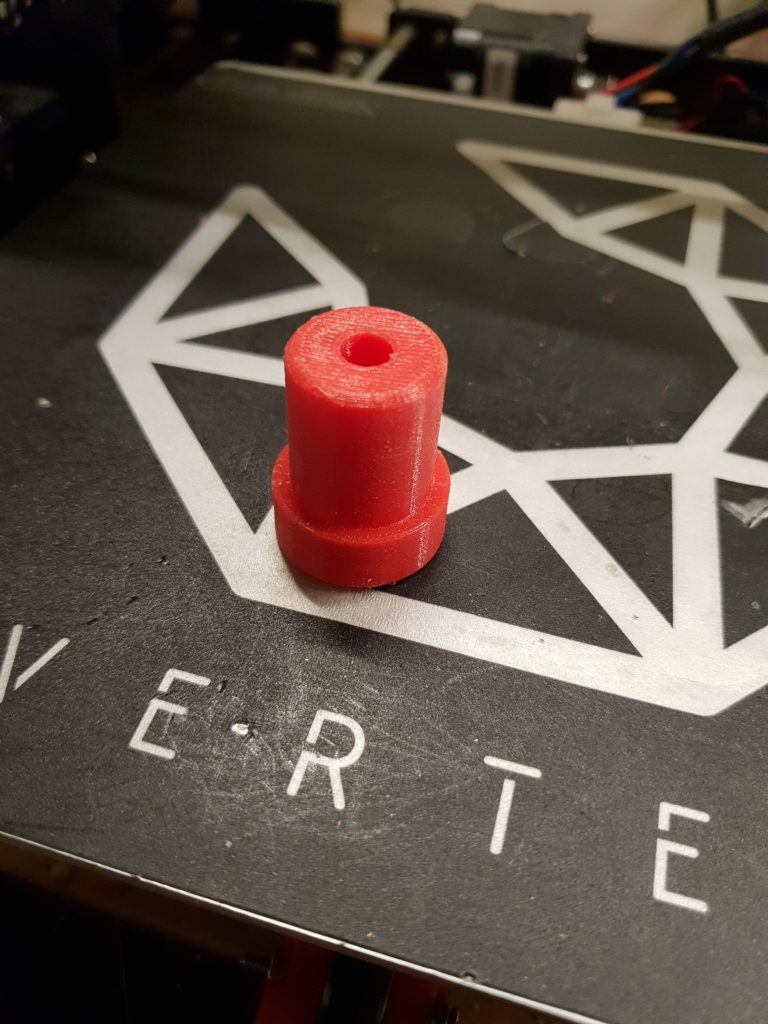
When drilling the table I realized that I needed some dogs for the table and sketched up a dog in Fusion 360 and printed it in PET-G. First one I made was 20mm in diameter and too tight in the newly made holes. I then made new ones that are 19.9 mm and they fit perfectly.
